|
<< Click to Display Table of Contents >> Evolution Instructions |
  
|
|
<< Click to Display Table of Contents >> Evolution Instructions |
|
Evolution Instructions #1 |
|
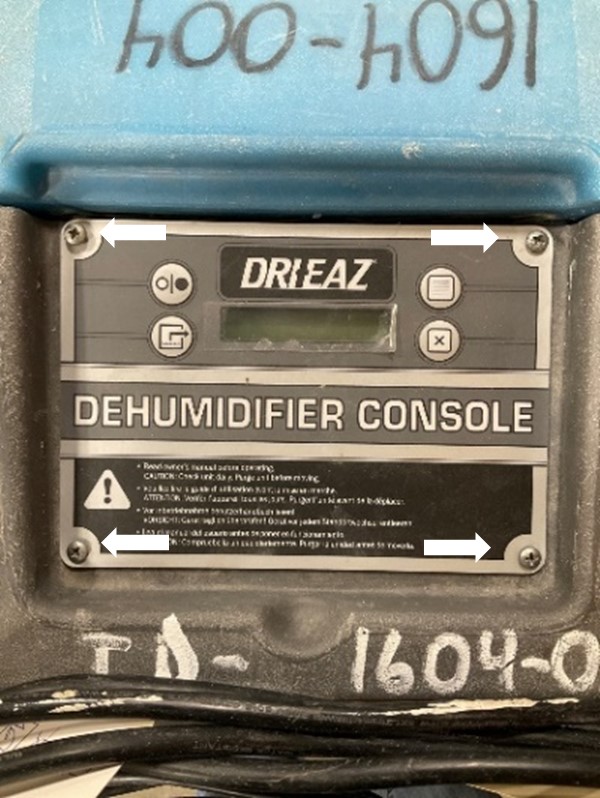
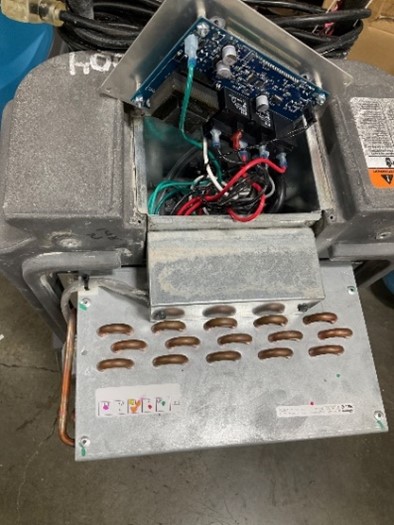
Using a Philips screwdriver, remove the four screws that secure the control panel to the unit housing. Lift the control panel up to verify the version of the control panel. |
|
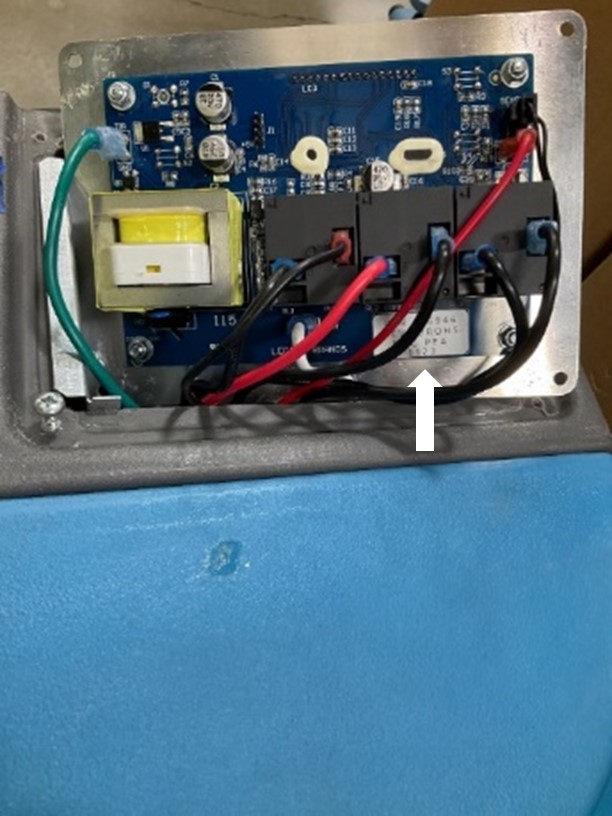
If this is the first time the control panel in the unit is being replaced with a 126946 control panel, the wiring on the control panel will be similar to the wiring in the photo. Go to Evolution Instructions #2.
|
|
If the original control panel is the same as the new replacement control panel labeled with part number 126946, proceed with these instructions.
1. Attach original 126946 control panel lead wires at the same locations on the new control panel. You may need to use needle nose pliers to remove the terminals attached to the control panel relays.
2. Secure the new control panel back in place with the four screws. The control panel replacement is complete. Test the unit for proper operation before returning the unit to service.
|
|