|
<< Click to Display Table of Contents >> DrizAir 1200 - Reinstalling Control Panel and Testing Pump |
  
|
|
<< Click to Display Table of Contents >> DrizAir 1200 - Reinstalling Control Panel and Testing Pump |
|
DrizAir 1200 - Reinstalling Control Panel and Testing Pump |
|||||||||||
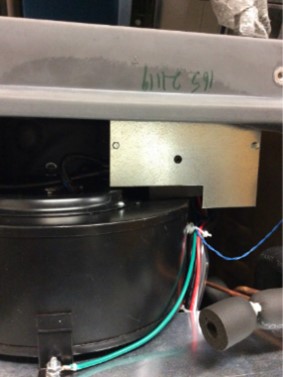
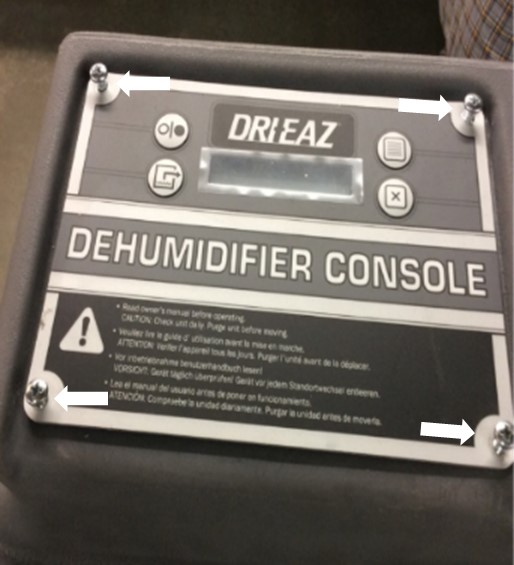
Reinstall the electrical box front panel and reattach the new control panel with four screws.
|
|
||||||||||
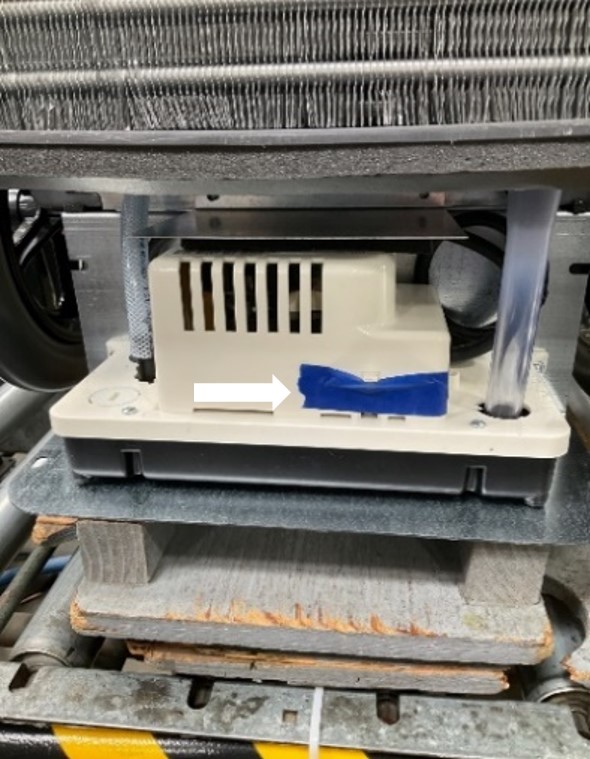
Prior to reinstalling the unit front cover, verify that the pump will function properly.
1. Tape or hold the pump float switch in the up position.
2. Power the unit on and wait for a minimum of 2 minutes with the float switch in the up position.
3. If the unit shuts off and the control panel displays an” ER9” error, the pump was wired correctly.
4. Disconnect power to the unit, remove the tape holding the float switch up and skip to Reassembling the 1200.
If the “ER9” error message is not displayed, wiring changes may be needed, skip to Wiring Check.
|
|
||||||||||
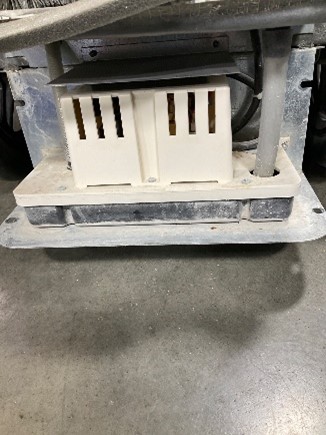
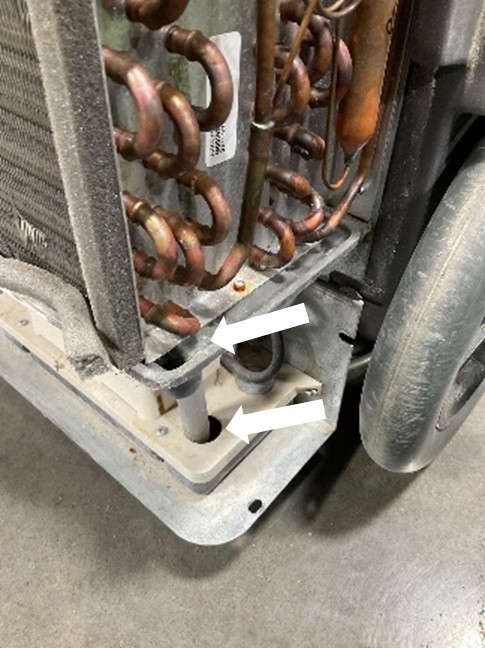
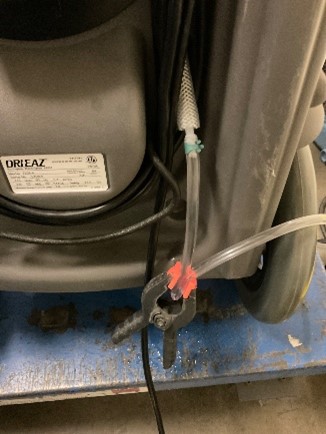
If the pump in the unit does not have a pump float switch, conduct this alternative test:
|
|
||||||||||